Adding text to your shots
Drop titles, labels, and speech bubbles onto any shot: place them, style them, time them, and add a transition.
Text is the fastest way to add a little context or personality to a shot: a title over your opening, a name label on a person, a caption for a place, or a speech bubble for fun. It takes a few taps, needs no editing skills, and it's entirely optional, so you can add it where it helps and skip it everywhere else.
You add text right on a shot after you've recorded it, so you can see it sitting on your footage as you place and style it.
Where text lives (and how it's different from captions)
NanoFlick has two separate ways to put words on screen, and it's worth knowing which is which:
- Text (this article) is text you place and style by hand on a shot, from that shot's Edit screen. Think titles, labels, and speech bubbles.
- Captions are for spoken words, set up in Flick Settings (tap the button at the bottom of the Shot List screen). Reach for captions when you want what's said on screen as subtitles.
The rest of this article is about Text.
Add a text block
Open a recorded shot, tap Edit, and tap Text. A new, empty text block appears on the shot, ready to type into. You can add up to three text blocks to a single shot.
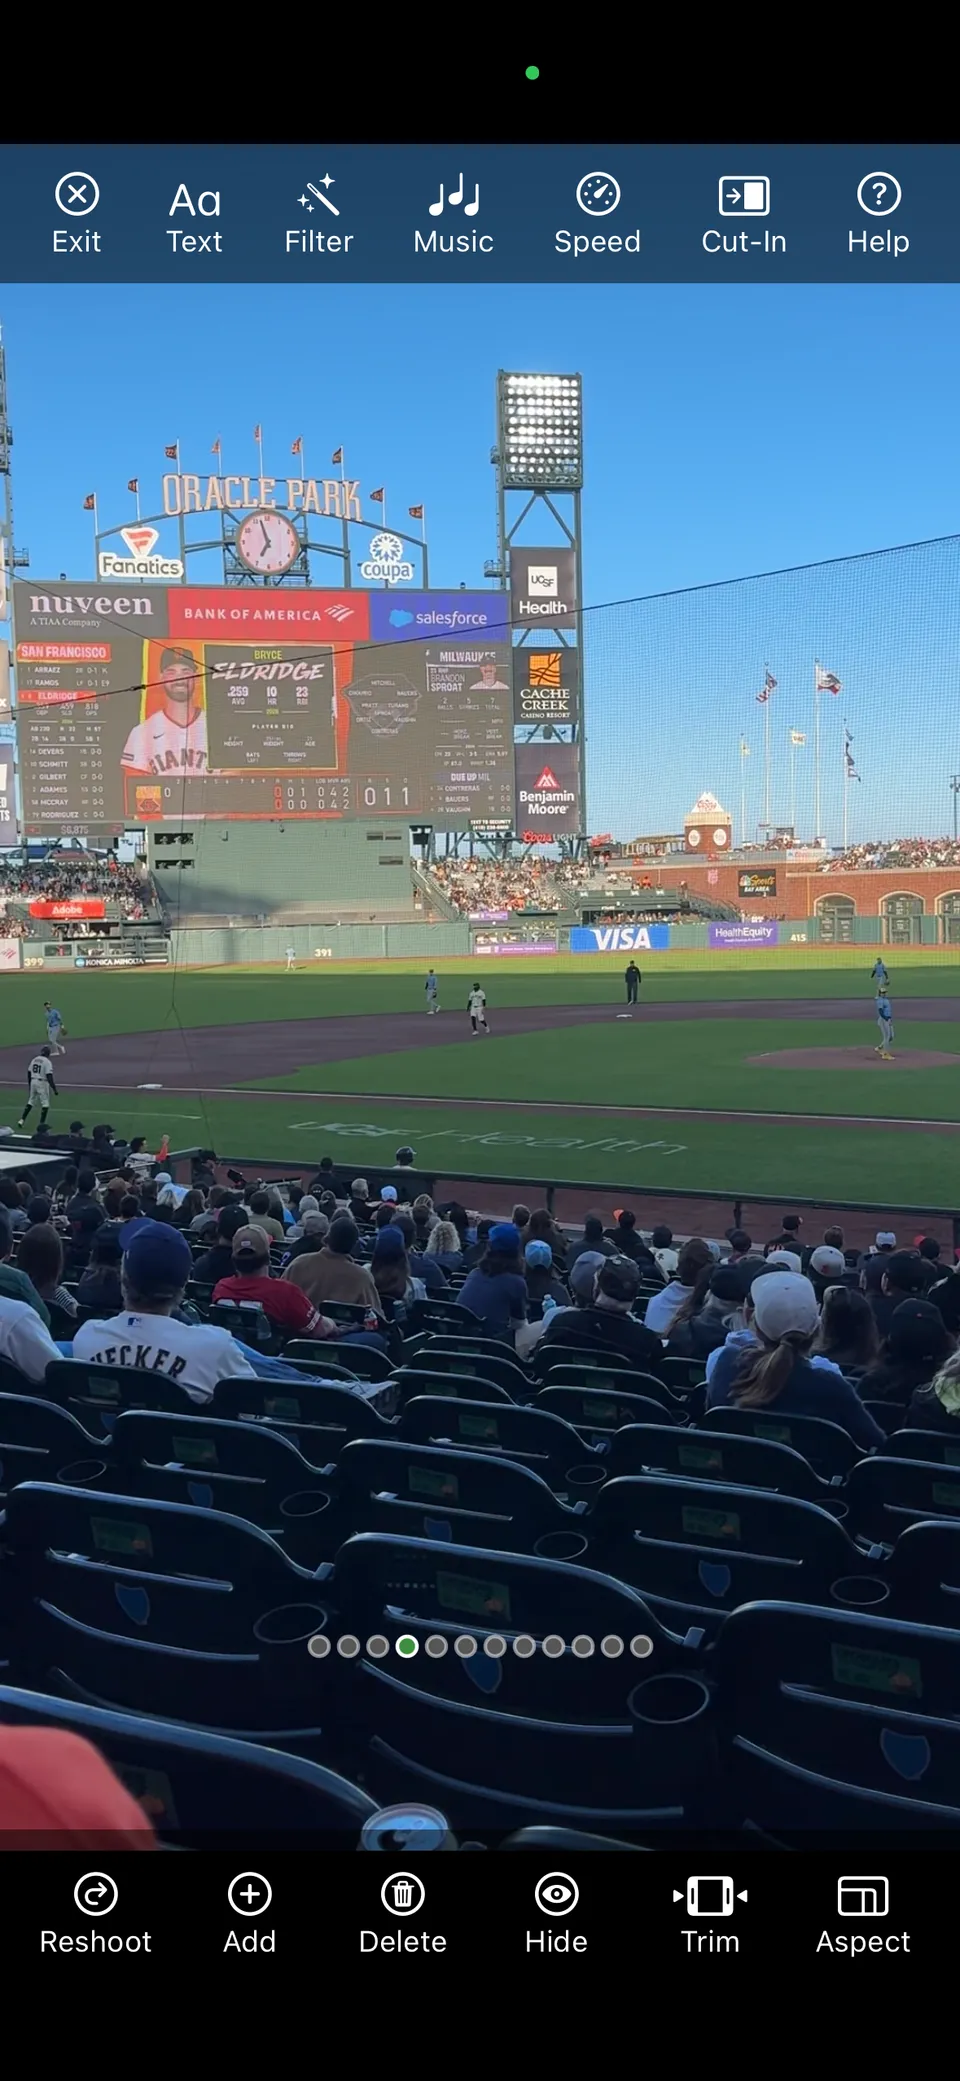
Place it
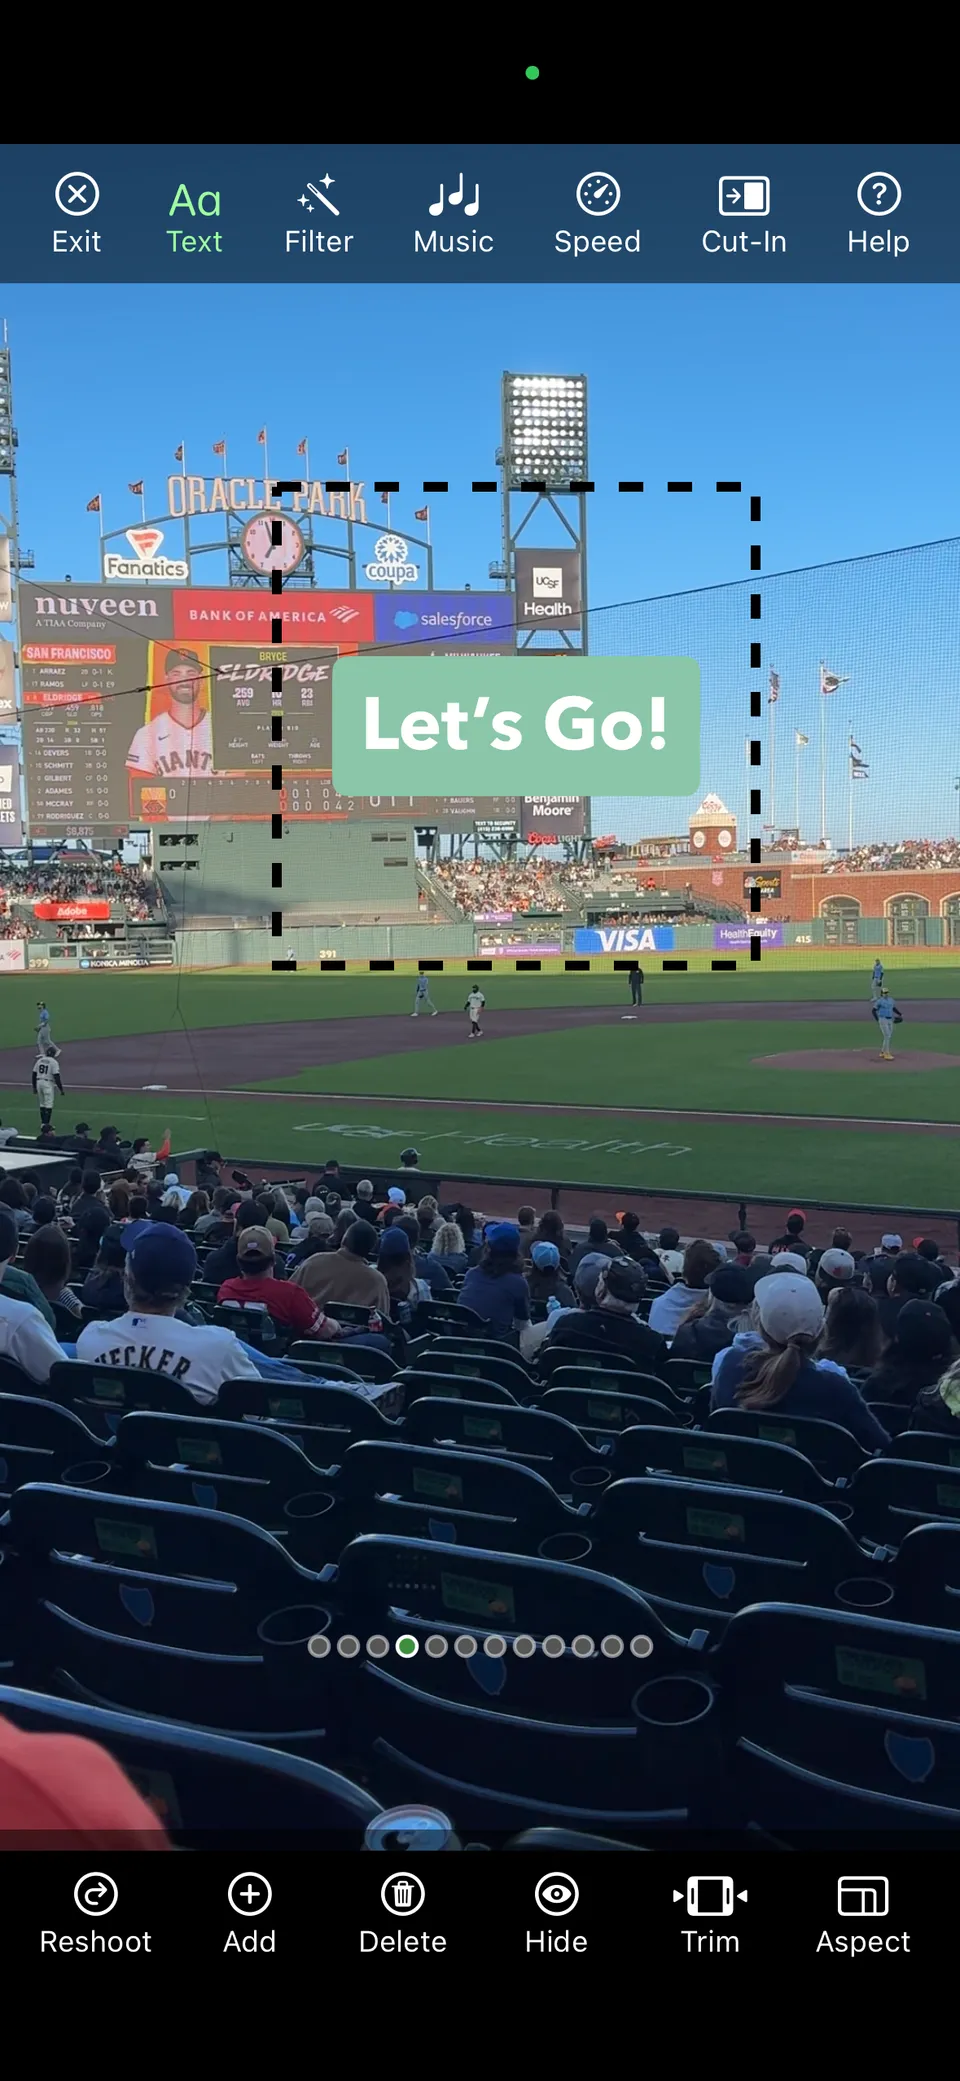
Move and size a text block right on the shot with the usual gestures:
- Drag to move it anywhere on the frame.
- Pinch to make it bigger or smaller.
- Rotate with two fingers to tilt it. It snaps to clean angles as you go, so level or 45° is easy to hit.
A guide box appears around the text while you adjust, then fades away.
Style it
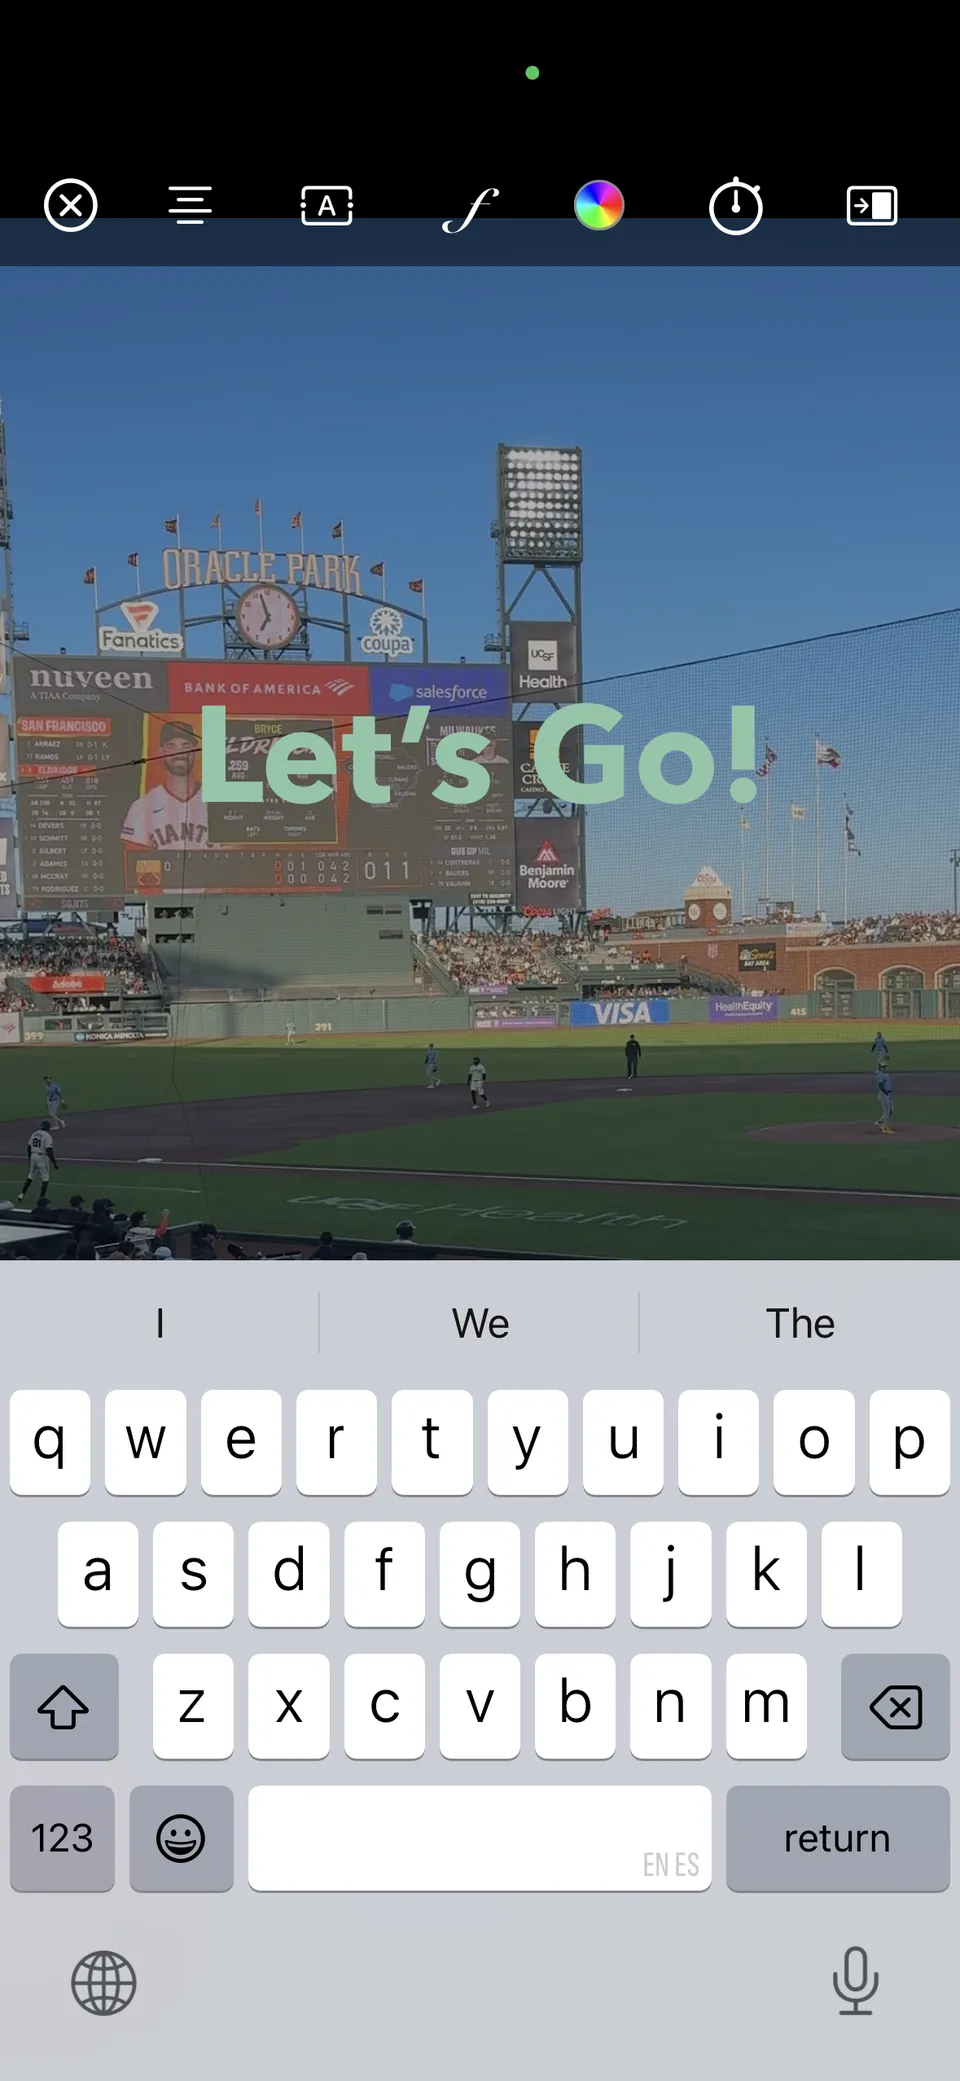
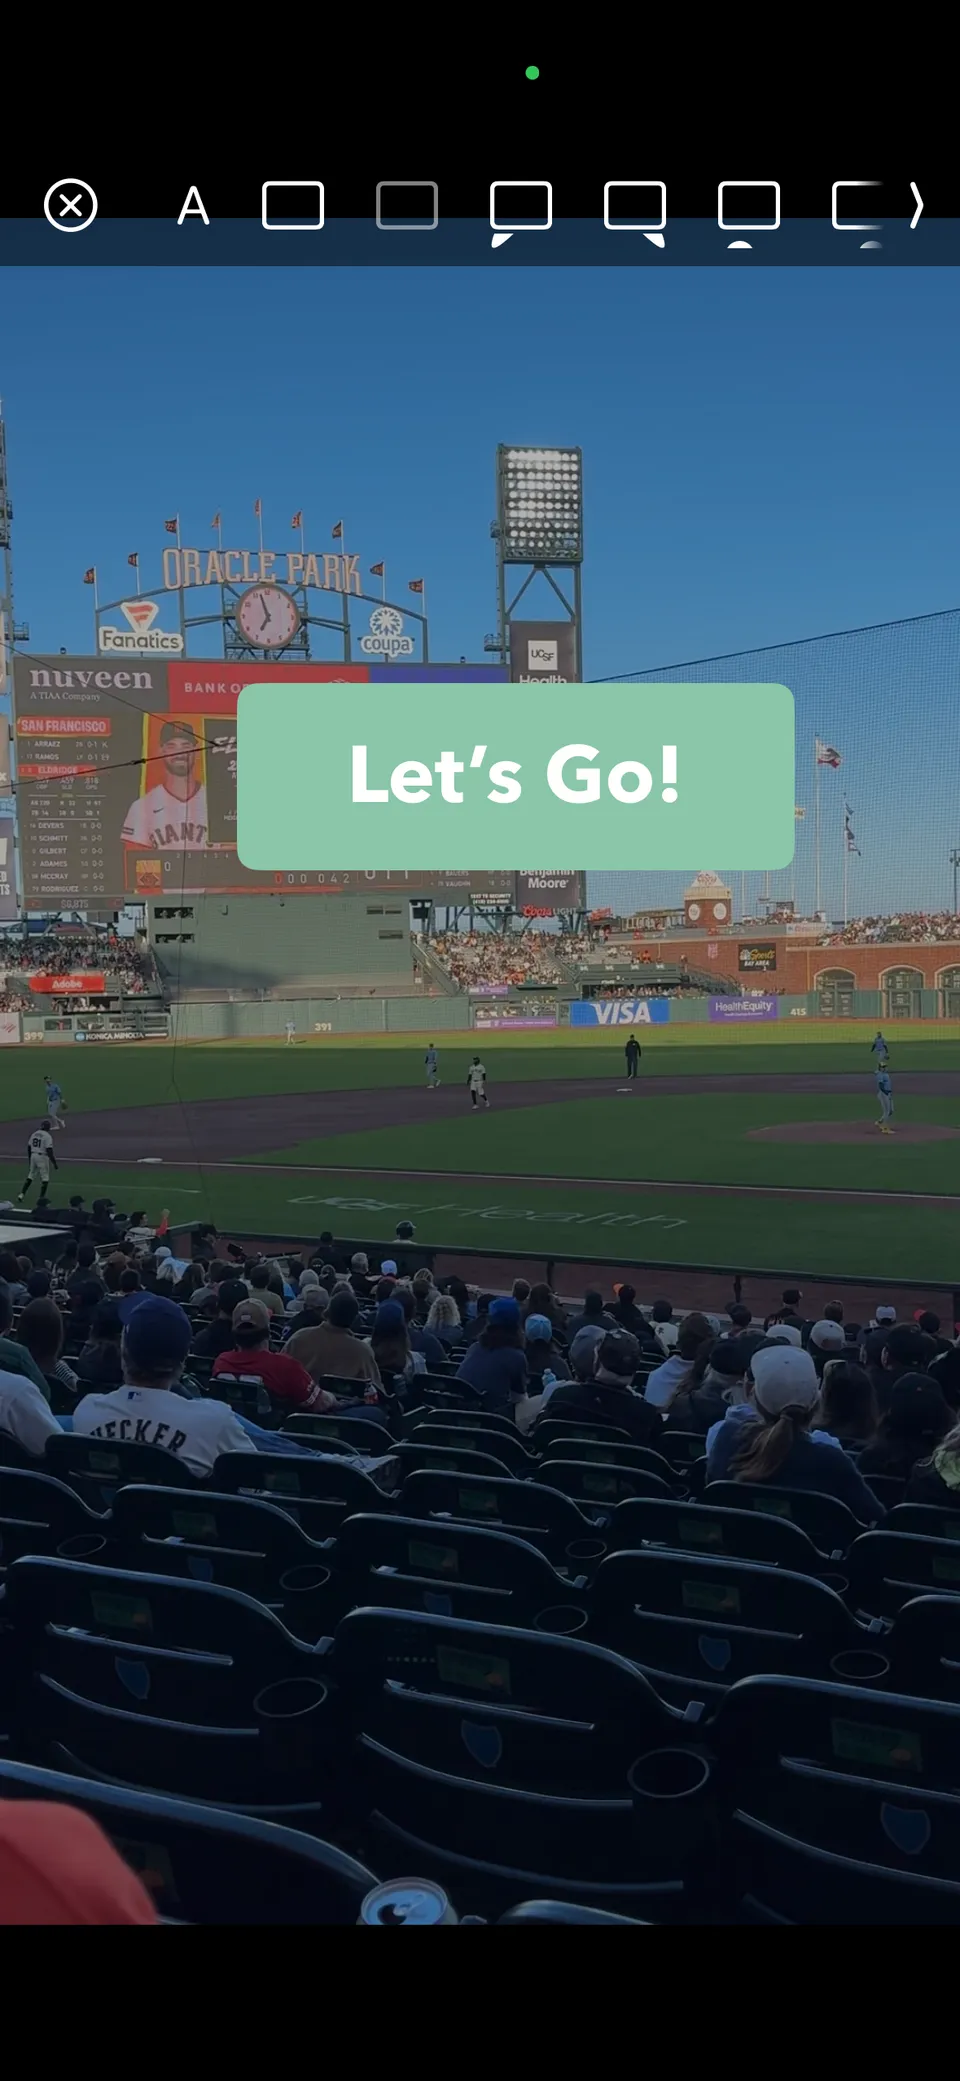
The Text menu gives you the look. Its controls, in order:
- Alignment: left, center, or right.
- Background: keep it as plain text, or set a shape behind it, including a solid box, a subtle transparent box, and speech and thought bubbles (which flip to point either way).
- Font: choose from a range of typefaces, from clean and simple to handwritten and playful.
- Color: pick from the color swatches. Color applies to the background if the block has one, otherwise it colors the text itself.
- Timing: set when the block appears and disappears within the shot, so a title can come in partway through or clear before the shot ends. By default it shows for the whole shot.
- Transition: choose how the text comes in, from a simple cut to Fade, Slide, Spin, or Warp (the same idea as a shot's transition, applied to your text).
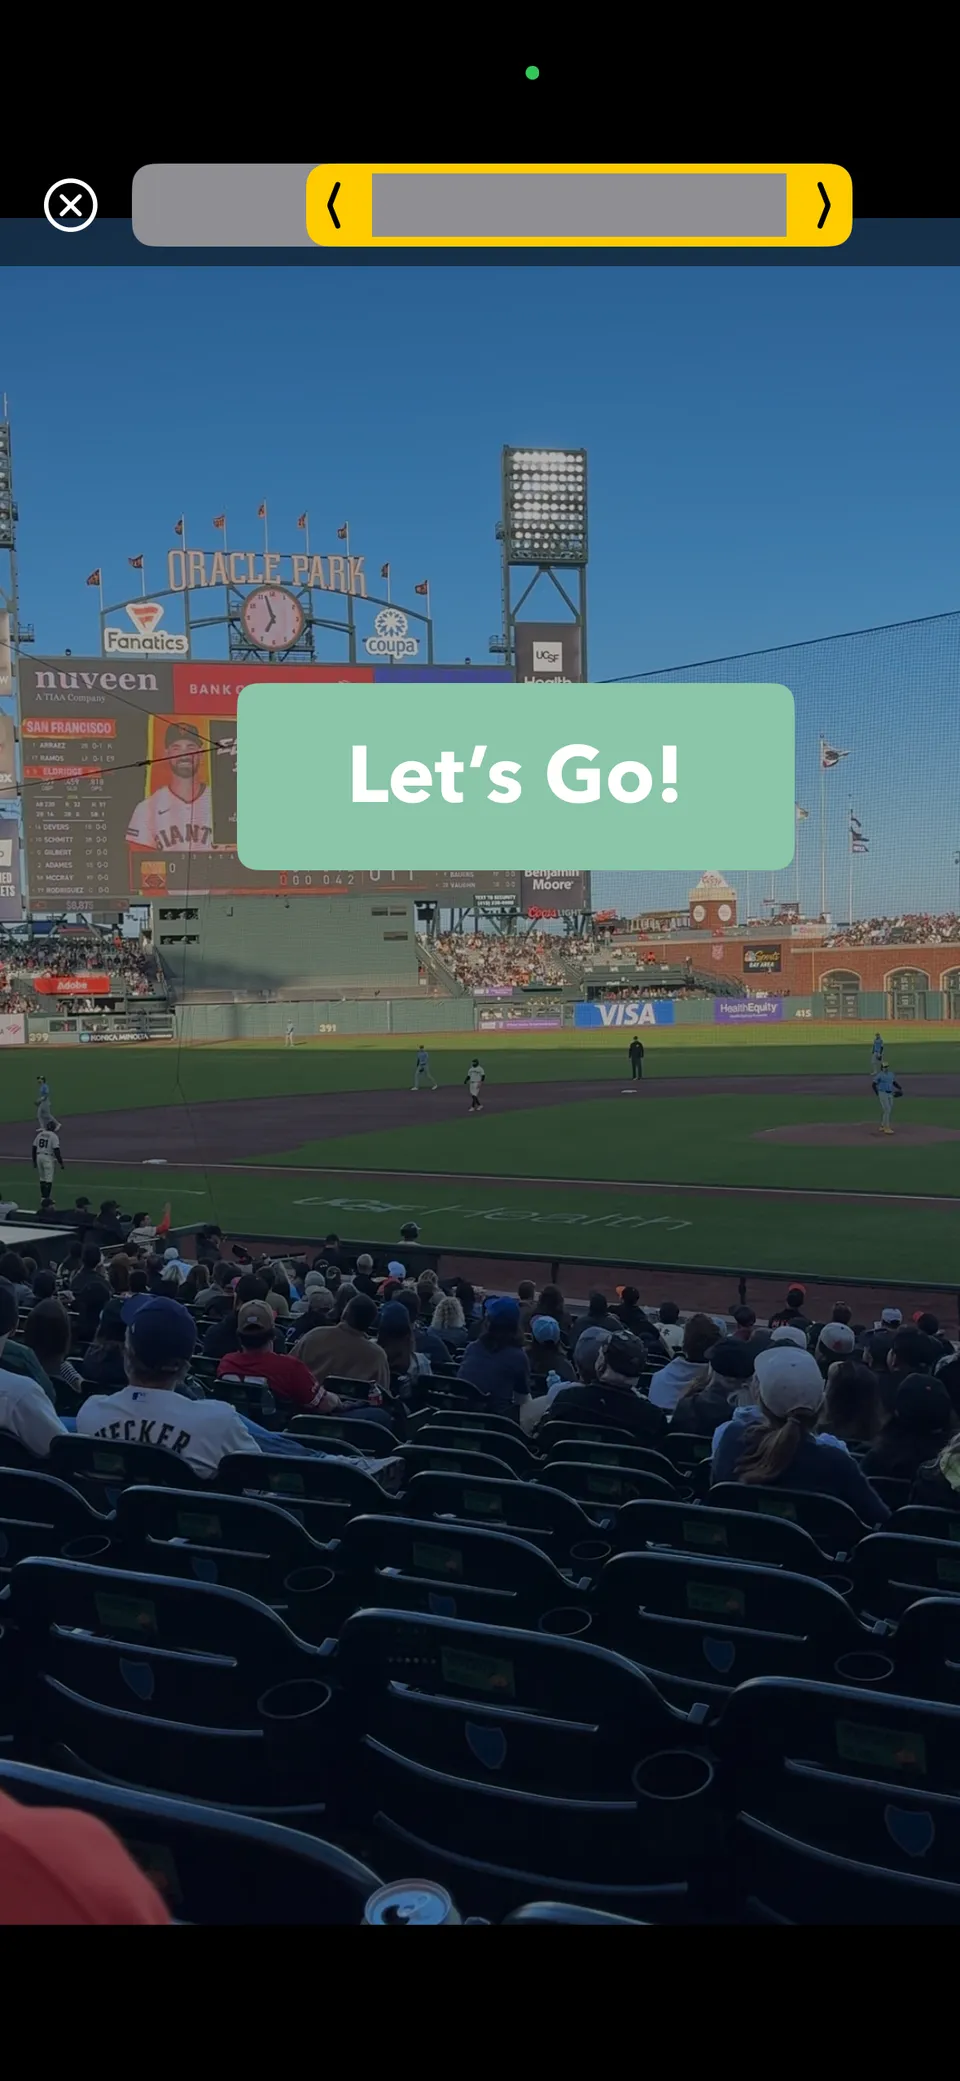
A transition plays when you preview the flick (from the Shot List screen), not on the small shot thumbnails, which always show your raw footage. If your text looks static on a thumbnail, that's expected: play the flick to see it animate.
Edit or remove a text block
Tap an existing block to edit its words or restyle it. To remove one, clear its text (backspace until it's empty) and tap away: an empty block is deleted for you. There's no separate delete button, so an empty text block never sticks around.
Your style carries over
Once you've styled a block, the next new block you add starts with that same look, so a set of matching titles across your shots takes no extra fiddling. Change the style any time; the latest look is the one that carries forward.
For teams: on-brand text
If your organization has a brand kit with a text style set, new text blocks start in that style automatically, so titles and labels match your brand without anyone setting fonts and colors by hand. An additional brand button appears in the Text menu, with these choices:
- Apply brand style brings this block in line with the kit.
- Apply to all does the same for every text block on the shot at once.
You can still restyle any block yourself afterward; the brand style is a starting point, not a lock. For the bigger picture of how brand kits reach your videos, see Your brand kit in the app.
Last verified