Make your first flick
The best way to learn NanoFlick is to make a flick right now. Pick a template, shoot the suggested shots, and share.
The best way to learn NanoFlick is to make a flick right now. Don't worry if it's rough; no one sees it unless you share it. Making a flick is two steps: shoot, then share. A template guides you through every shot.
Pick a story template
Tap the + button on the bottom tab bar. Browse the featured templates and categories, and tap one to see its shot list. The shot list is the heart of NanoFlick: a short plan of shots built for a specific moment, like a surprise party or a weekend trip. It doesn't have to be a perfect match, though. A template is a guide, not a rule: pick one that's close, and you can skip, reorder, or add shots as you go, so there's no reason to wait for the perfect template before you start.
When you pick a template, you also choose whether to shoot in portrait or landscape.
Shoot each shot
The camera screen shows the current shot and a suggested length. Tap the record button like your normal camera. When you stop, NanoFlick moves to the next shot. If it isn't time for a shot yet, put your phone away and enjoy the moment.
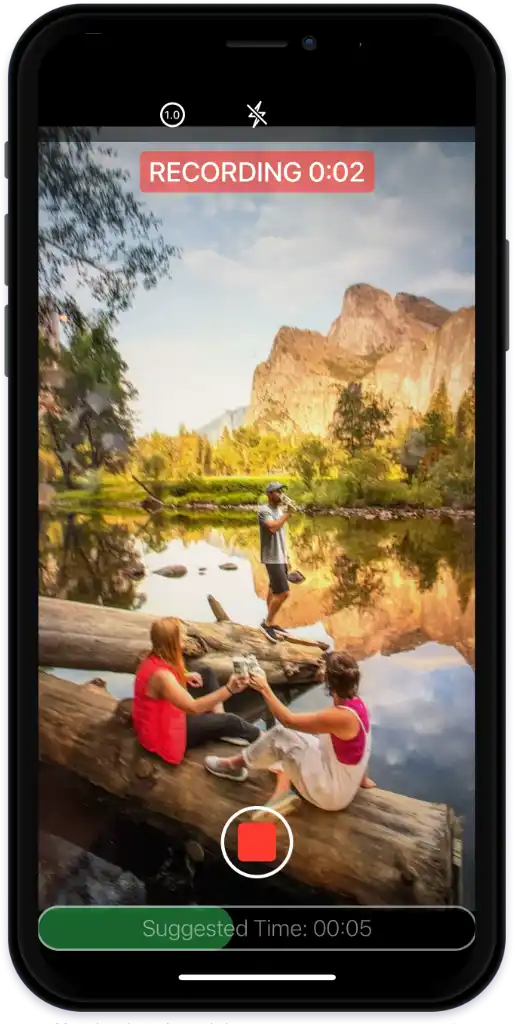
The camera screen shows the current shot and a suggested length. Review your shots
Tap the X to open the Shot List, where you can reorder, rename, hide, trim, or reshoot anything before you finish.
Share
You don't need to edit. Tap Share to send your flick to your camera roll or to the services you use. See Sharing and privacy for the details.
Done beats perfect. Make and share a few plain flicks first. The extras, like music, captions, and filters, are there when you want them, not something you have to learn first.
Want your shots to land? The guide on pacing and brevity is a good next read.
Last verified